Eco Printing Workshop with Juliet Edgar; Summer Social

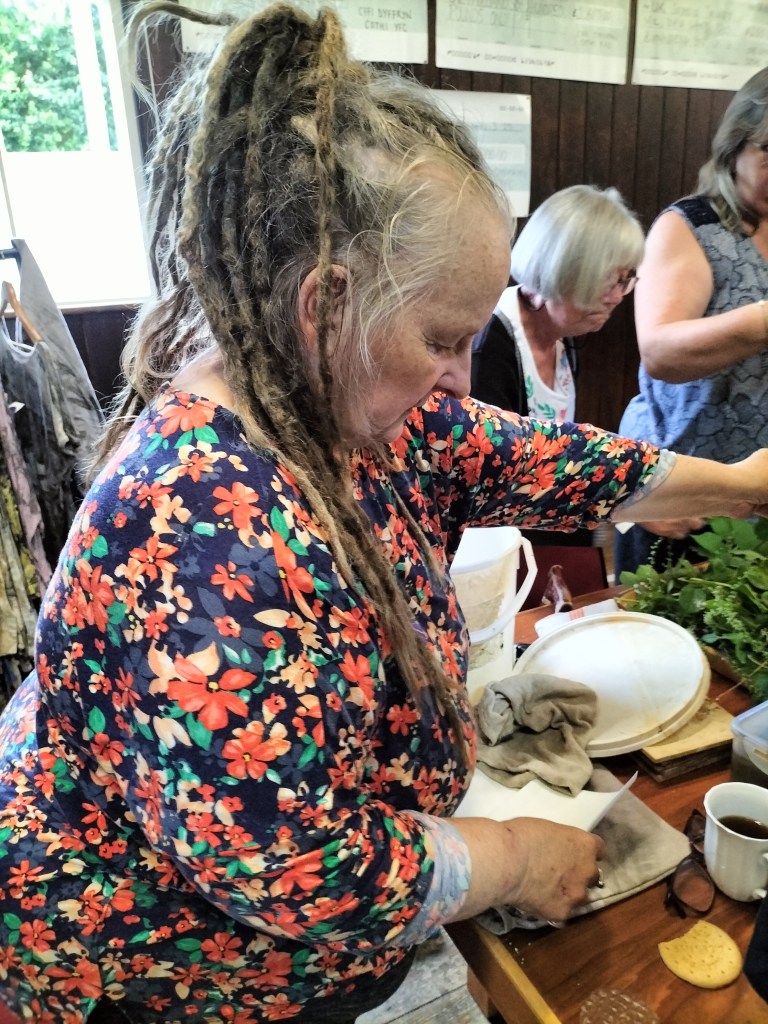
Juliet is a mixed media artist who is fascinated by experimental processes. She is keen to pass on to others her skill and collected information about printing, and the workshop today particularly shows how eco printing (using 100% natural materials such as cotton, linen, wool and silk plus the organic materials which provide the patterns) can result in surprisingly beautiful artworks reflecting the diversity of nature, and can be done at home.

The chemicals normally used in printing on an industrial scale are harmful to the environment and thus to ourselves, both to use and dispose of. The fabric can be washed using a soap solution, without losing the colours or patterns and Juliet brought with her examples of blankets, scarves and items of clothing which she had made using her dyed fabrics, many obtained from charity shops.

Juliet first became involved in eco printing through the work of Nicola Brown who is the author of the book “Eco Printing in the Dirty Pot”  which describes in detail the processes and endless possibilities of using this system.

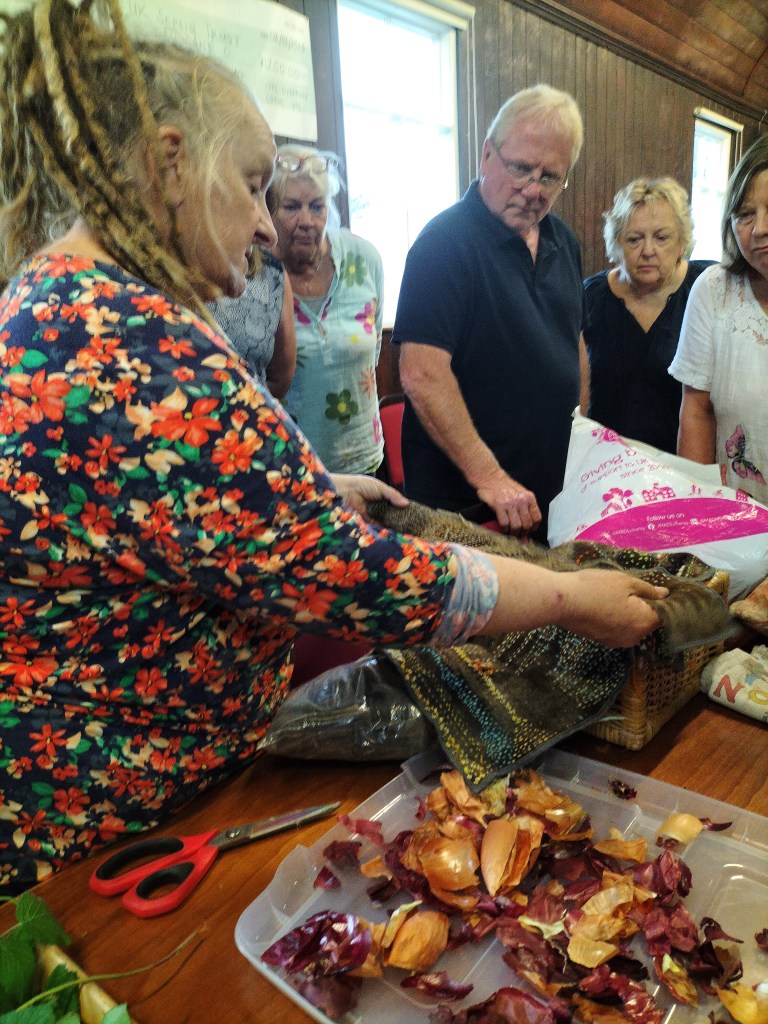
In order to give it a try ourselves, she provided a wide variety of plant material, leaves, moss and onion skins etc. which we could use in our artworks. She provided us with squares of dampened paper about 6” x 6” on which we arranged our chosen bits of plants etc. These were then sandwiched, one on top of the other, in blocks of about 5 and placed between two ceramic tiles. At the end of the process, this meant that impressions would be seen on both sides of the paper. 

The tiles were then bound tightly together using strong fabric tape.The plant materials vary dependant on where they have come from and the results will depend on how well you know your area. For instance, an oak leaf from your local area will not give the same result as one from further away – weather, soil type and tannin content all make a difference. 

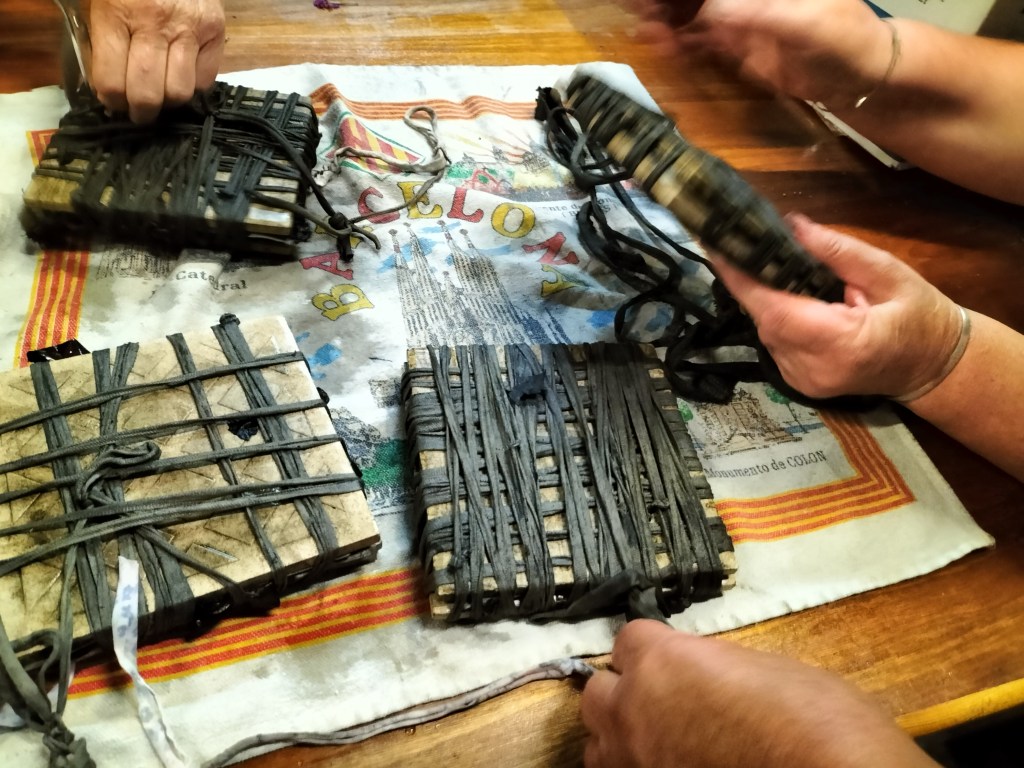
A way of providing a different dimension is to wind cloth around a fairly chunky-sized copper pipe and then securing it with string which results in a tie-dyed effect.

We went outside for the next part. In an aluminium vessel (referred to as the Dirty Pot), the fluid which would fix or cure the images was boiling over a gas stove. This fluid comprised of Eucalyptus leaves and bark, with water and vinegar, plus some onion skins and bits of rusty metal. This was happily boiling away, much like a witch’s cauldron – it was a bit like nursery school on steroids. The artworks, which had been named, were then lowered into the pot, still sandwiched in the tiles, and left for one hour to cure.

Whilst we waited, we did some “slow stitching” – using lengths of different coloured wool to create patterns on pieces of eco dyed wool.

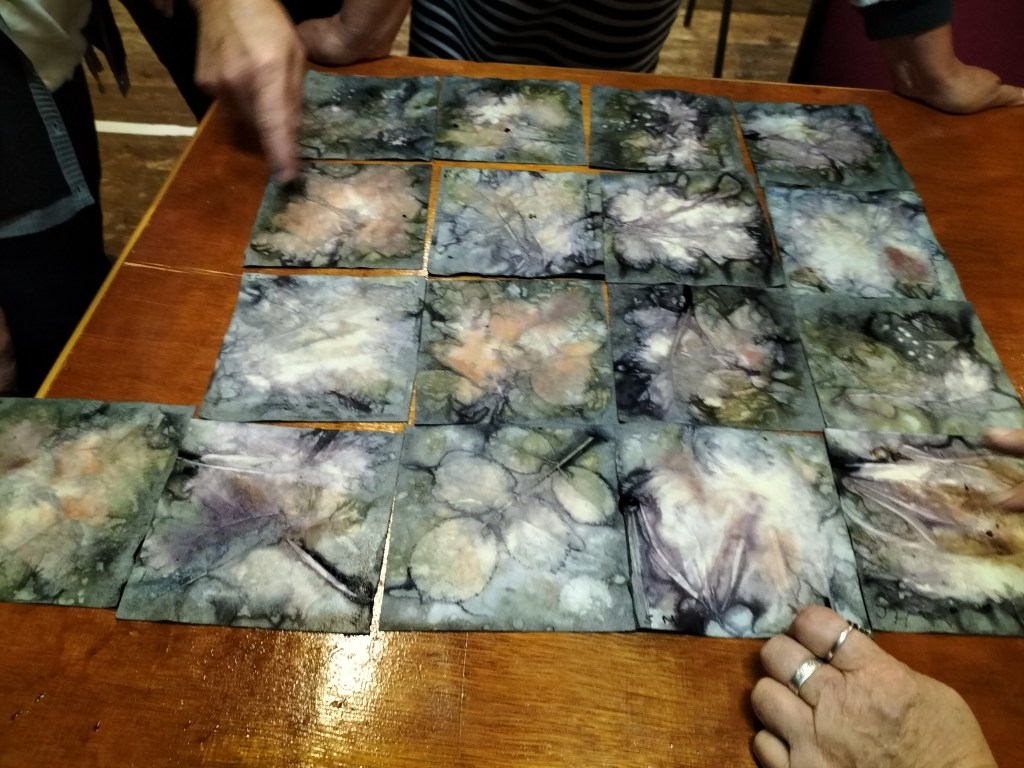
At the big reveal, we were amazed at the variety of the different shapes and the diversity of colours in the images and when this system is applied to natural fabrics. The fact that it can be washed and used as we do with the usual factory-dyed items is excellent and gave us all food for thought.

Juliet was thanked for her very interesting demonstration and talk.


Summer Social

Cothi Gardener members are reminded that our summer social this year will be Pizzas at The Plough at Felingwm, which is now owned by Joseph Atkin, who was the Head Gardener at Aberglasney Gardens. This will be on 20th August at 6pm, and Joseph will be giving us a talk on Dahlias. Car-sharing, where possible, is recommended.


Pelargoniums and Geraniums by Mair Evans; Upcoming Events

Mair firstly explained the differences between Pelargoniums and Geraniums –  Pelargoniums are tender and originated in the Southern hemisphere (they are endemic to Australia and New Zealand ),  whereas Geraniums are hardy and herbaceous, can be found in borders and come from the Northern hemisphere.

We had a quiz to find out who knew the difference between the two, with Mair holding up different potted plants to see if we knew whether they were Pelargoniums or Geraniums, and quite a few people did know it seems.

The name ‘Geranium’ for Pelargoniums comes from St Helena where the “Valley of Geraniums” can be found; it was given the name by Napoleon when he was exiled there, because it reminded him of the valleys of hardy geraniums in Europe. The land on St Helena was constantly shifting and the plants could be found even in the dunes which would not normally be a favoured habitat for them. They were then almost extinct there, when the trade routes were opened by the British East India and the Dutch East India shipping companies. The ships berthed in South Africa to load provisions, found the Pelargoniums and were keen to ship them back to Europe because apparently they were thought to be a cure for dysentery.  In the early 18th century, they would flower in January, February and March, but were nothing like the Pelargoniums we know now and were quite scruffy with a strange scent, growing out of rocks and very tough. The Dutch particularly collected them and took them back to Holland with them.

There are now thousands of different cultivars of Pelargonium and a lot of research is carried out. Trials involving thousands of varieties, the numbers of which are whittled down to about six, are done to ensure that the required characteristics and disease resistance are present in the chosen handful.

When keeping our own Pelargoniums, the plants can get very leggy in the winter so cuttings need to be taken in late summer or early autumn and a puff of sulphur on the cut parts will really help. Mair demonstrated how to take cuttings (sharp intake of breath from the audience when she started happily chopping at the lovely plant which she had brought with her!) and explained that once the cuttings are in the compost, they should root within six weeks. She uses a mixture of coir, garden soil and compost, just fairly constantly damp, but not wet. The coir helps with drainage but obviously makes the mixture dry out quicker so they need to be checked regularly. The best time to take cuttings is September which is the ideal time to be cutting them back, and then they should put on some growth before the winter dormant phase.  They can be cut back a little, usually three times between September and January. The theory goes that you need to get your cuttings in pots by the time the Malvern show comes around! Always take cuttings from the healthiest plants and, during either the growing or the dormant period, any dead leaves and flowers should be removed straight away. In the winter, the plants are happy in a cold greenhouse or porch, though if the temperature really plummets they may need to be covered. 

It is possible to take cuttings and root them in water, though adding a drop of orange juice will help and the water needs to be changed weekly. The best time to feed with a good all round plant feed from June onwards and potash can be given in December and January.

There are so many different types of Pelargonium; any single variety will do very well outside and the semi-double are happy inside or out. There are also many scented varieties, with scents all through the spectrum, spicy, sweet, flowery, sharp etc. Mair has some Pelargoniums, all of which are home bred and she hand pollinates them with a paintbrush.

Mair explained that she did have a problem last year with cuttings going black at the stem end, which turned out to be the water. A drop of orange juice in the water cured the problem, so the extra acidity did the trick.

Tracey thanked Mair for her talk and for bringing her beautiful Pelargoniums for the audience to buy.


Upcoming Events

At our next meeting on Wednesday, 16 July mixed-media artist Juliet Edgar is running a printing workshop. Juliet takes nature as her inspiration when creating using macrame, eco-printing and painting. It should be a fascinating evening.

Following that, our Summer Social will be held on Wednesday, 20 August at 7pm at ‘The Plough’ in Felingwm. We’ll be sharing the most delicious pizzas, and we will also be treated to a talk by Joseph Atkin, the former head gardener at Aberglasney Gardens on Dahlias.